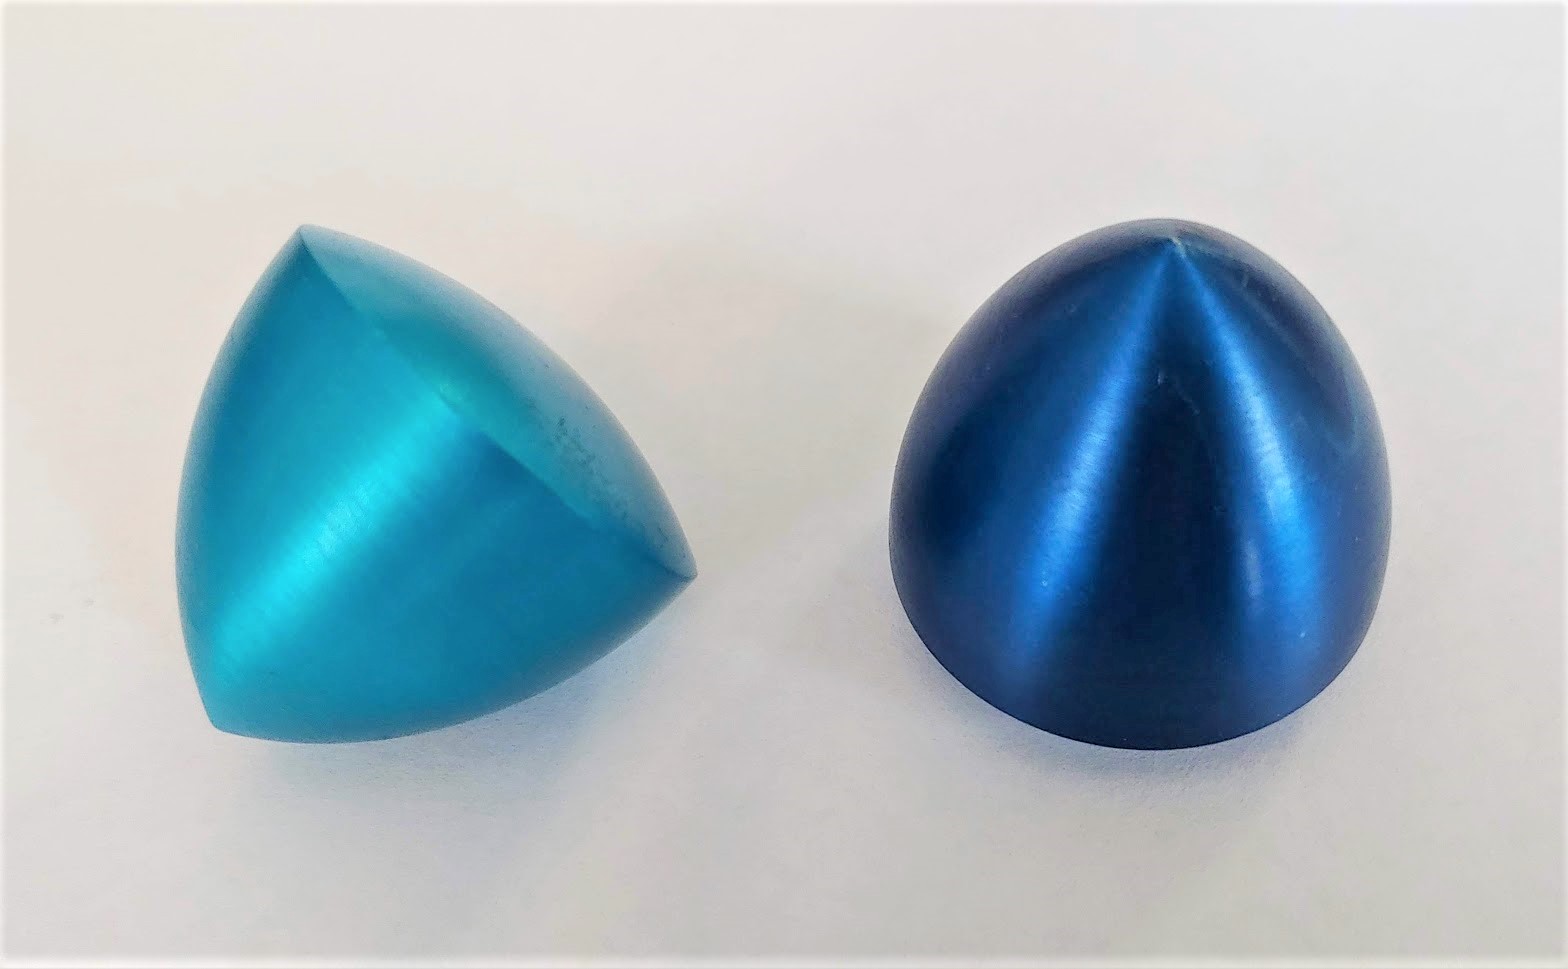
¶ Background
Spheres are the most intuitive example of a solid of constant width, but in fact there is an infinite set of non-spherical solids that still have constant width! A non-rigorous, but conceptually useful, property of a solid of constant width is that it maintains a constant distance between two parallel planes that "enclose" the solid, regardless of the rotational position of the solid.
¶ Inspiration
I was initially inspired to try an make my solids of constant width after watching this Numberphile video. About half-way through, Steve mentions that he asked on a machinists forum if he could get some made on a lathe, and was met with a lot of naysayers, claiming it couldn't be done! He did, however, get several of these made anyway by a clearly more knowledgeable machinist.
I decided I needed to show up all those forum posters claiming this project would be too difficult on a lathe, so I decided to make some myself! They would also be a fun math-y toy to play with, but if I'm honest I think proving people on the Internet wrong was really the primary motive.
¶ Manufacturing
 Unfortunately, I'm documenting this several years after I made these, and I didn't take any photos of the manufacturing process at the time! For the sake of anyone who wants to make these themselves though, I'll attempt to briefly describe the process as best I can.
The main difficulty in manufacturing these was repeatable part holding. Getting the dimensions right isn't too bad, it just requires a lot of patience and frequent double checking of measurements!
Making the first half of the shape is easy, just use a radius cutter on your lathe to contour the "pointy" half of the solid from a piece of round stock, taking care that the axis of rotation of the radius cutter lies exactly tangent to the far edge of your stock, and the set radius of your radius cutter is exactly the diameter of your stock. Once you've shaped the pointy end, part off the half-finished part, leaving enough material for the "rounded" end of the shape.
The secret sauce is a jig to hold these parts concentrically so you can shape the other rounded end once the pointy end is done. From a larger piece of round stock, bore out a hole that your half-finished parts fit closely, but not too snuggly into. Also drill a smallish (0.25" or smaller) hole at the bottom of this bored out cavity that the point of your half-finished solids can rest in and align to.
After the radial features of your jig are finished, give the walls some flex by cutting out some evenly spaced horizontal slits with a hacksaw, and find a hose-clamp or similar radial clamp with enough force to securely hold down your parts for phase 2. Once you've perfected the jig, cutting the round ends of your solids of constant width is fairly easy, just go slow since there's probably not a whole lot of effective clamping force. After your first part is finished, the jig will have assumed the perfect shape, matching the rounded contour of your solids of constant width, and you can finish up a whole bunch of parts in breeze!